

Guides
How to Set Up and Use CRMsynQ: A Step-by-Step Tutorial
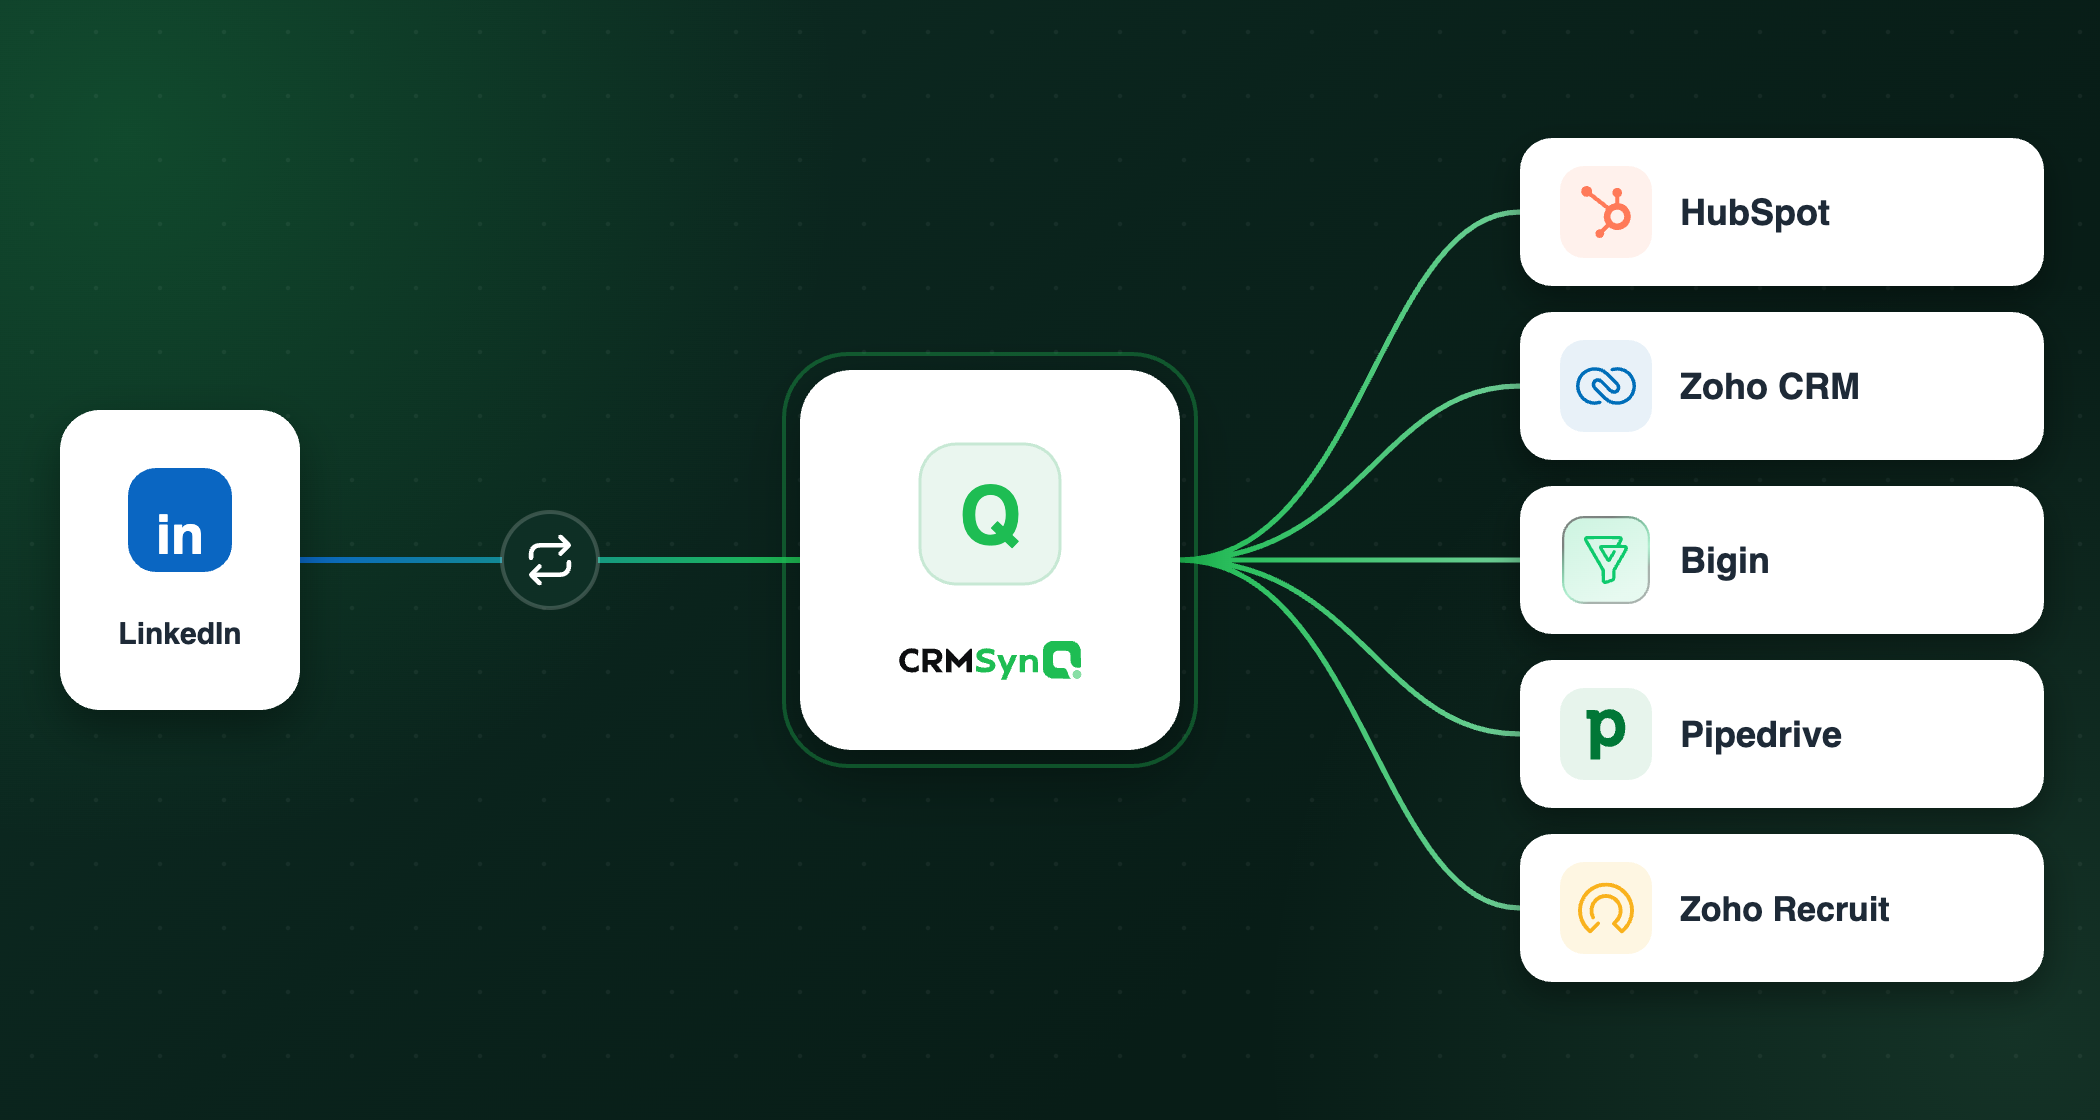
Table of Contents
- Key Takeaways
- What CRMsynQ Does (and Why Setup Is So Quick)
- Step 1: Sign Up and Connect Your CRM
- Step 2: Tell CRMsynQ Where the LinkedIn URL Lives
- Step 3: Map the Fields You Want Refreshed
- Step 4: Create a Schedule
- Step 5: Review What Changed
- Step 6: Turn On Email Update Notifications
- How Credits Work
- Putting It All Together
- Frequently Asked Questions
Key Takeaways
- CRMsynQ keeps your CRM accurate by syncing LinkedIn data into HubSpot, Pipedrive, Zoho CRM, Bigin, or Zoho Recruit — no manual data entry required.
- The full setup takes under a minute: connect your CRM, tell us which field holds the LinkedIn URL, map the fields you want refreshed, and set a schedule.
- You start with 50 free auto-updates — no credit card required — and after that you only pay for the updates you actually use, with credits that never expire.
What CRMsynQ Does (and Why Setup Is So Quick)
CRMsynQ is a background service that keeps the contact and company records in your CRM up to date by refreshing them from LinkedIn. Job titles, company names, employment status, "Open to Work" signals, and 30+ other fields stay current automatically, so your sales and recruiting teams never pitch the wrong person or chase someone who has already moved on.
Because everything runs through OAuth and a simple web interface, there is nothing to install and no code to write. You connect your CRM, choose what to update, pick a cadence, and CRMsynQ handles the rest on a schedule. This tutorial walks through the entire process from sign-up to reviewing your first batch of updates.
Step 1: Sign Up and Connect Your CRM
Head to app.crmsynq.com/login. The first thing you'll see is a set of "Connect" buttons for each supported CRM:
Click Connect next to the CRM you use. A secure OAuth window opens where you sign in to your CRM and approve access. CRMsynQ requests only the permissions it needs to read your contacts and companies and write back the fields you choose to update. Once you approve, the window closes and you land in the CRMsynQ dashboard — already authenticated.
No credit card is required to start, and your account comes with 50 free auto-updates so you can try the full flow on real data before spending anything.
Step 2: Tell CRMsynQ Where the LinkedIn URL Lives
For CRMsynQ to refresh a contact, it needs to know which LinkedIn profile each record belongs to. So the first setup screen asks a simple question:
Which {CRM} field holds the LinkedIn URL?
Pick the field in your CRM where you store LinkedIn profile links — this might be a built-in property like "LinkedIn Profile," a custom field, or a generic "Social URL" field. If your CRM uses multiple record layouts (HubSpot, for example, can have different layouts per object), you'll set this once for each layout. When every layout is configured, click Save.
A helpful rule to remember throughout setup: only map the fields you want updated — anything left blank stays untouched. CRMsynQ never overwrites a field you haven't explicitly mapped.
Step 3: Map the Fields You Want Refreshed
Next you'll see the mapping screen, where you decide exactly which LinkedIn data flows into which CRM field. CRMsynQ exposes 30+ LinkedIn fields, including:
- Job title and current company
- Headline, summary, and location
- Skills
- "Open to Work" status — invaluable for recruiters
- Profile photo and the profile as a PDF resume
For each LinkedIn field you care about, select the CRM field it should update. Fields you leave unmapped are never changed, which means your custom notes, lead sources, and other proprietary data stay exactly as they are. This field-level control is the core of CRMsynQ's "maintenance, not overwrite" philosophy.
You'll also find a few optional enrichment toggles:
- Auto-create missing companies from LinkedIn employers — when a contact's LinkedIn employer isn't in your CRM yet, CRMsynQ creates the company record and links the contact to it.
- Attach the LinkedIn profile as a PDF resume — handy for recruiting workflows.
- Use the LinkedIn photo as the contact picture.
Enable whichever fit your workflow and save your mappings.
Step 4: Create a Schedule
Now you'll tell CRMsynQ which contacts to refresh and how often. This is done by creating a schedule.
Name your schedule. Give it a label you'll recognize later, such as "US sales prospects" or "Active candidates."
Choose the contact type. If your CRM has more than one kind of record (Contacts, Leads, Candidates), pick the one this schedule should refresh.
Set the cadence. Under Refresh every, choose how often CRMsynQ re-runs this schedule. Options range from daily to every six months:
| Cadence | Best for |
|---|---|
| 1–3 days | Fast-moving outbound lists and active recruiting pipelines |
| 7 days (weekly) | Most sales and RevOps teams |
| 30 days (monthly) | Stable account lists and long-term nurture |
| 60–180 days | Archival data you want to keep technically accurate |
Pick which contacts are included. Depending on your CRM, you can target records two ways:
- Filter by field — build a filter based on field values (e.g., country, lifecycle stage, owner).
- Segments / Lists — use a saved list or segment from your CRM.
Before saving, use Preview matches to see how many contacts the schedule will cover, so there are no surprises. When it looks right, click Save schedule.
That's it — setup is complete. CRMsynQ now runs in the background on the cadence you chose.
Step 5: Review What Changed
Once your schedule starts running, head to the Activity page to see exactly what CRMsynQ did. Its subtitle says it best: see which contacts have been enriched and how it went.
Each row shows:
- The schedule that triggered the update
- The contact (linked straight to the record in your CRM)
- The record type
- A status — Done, Pending, or Failed (failures show the reason on hover)
- When it was last updated
- A Changes column with a View button
Click View on any record to open a clear before-and-after comparison: each field's original value next to the new value pulled from LinkedIn, with the changes highlighted. This transparency means you always know precisely what CRMsynQ touched — and what it left alone.
Schedules are resilient, too: if a schedule hits repeated errors (for example, an expired CRM connection), it pauses automatically and resumes once the issue is resolved, so you're never silently burning credits on a broken sync.
Step 6: Turn On Email Update Notifications
You don't have to open the Activity page to stay informed — CRMsynQ can email you a summary instead. Go to the Notifications page to set it up. As the page explains:
Get a daily email summarising the contacts whose fields we updated from LinkedIn. We only email you on days when at least one contact actually changed.
You'll find three controls:
- Daily update digest — a single toggle that turns the email on or off. One email per day covering all your schedules.
- Send time — pick the hour (00:00–23:00) you'd like the digest to arrive.
- Timezone — choose your timezone so the send time and the "last 24 hours" window line up with your day.
CRMsynQ then sends around your chosen time, covering changes from the previous 24 hours. The email groups updates by schedule and, for each changed contact, shows a field · before · after breakdown — the same at-a-glance view as the Activity page, delivered to your inbox. There's a View full details link that takes you straight back to the Activity page.
A couple of things worth knowing: the digest is account-wide (it covers every schedule, not one per schedule), it's sent at most once a day, and you'll never get an empty email — if nothing changed in the last 24 hours, no message is sent. You can switch it off anytime from the same page.
How Credits Work
CRMsynQ uses a simple, pay-as-you-go credit model — no subscriptions and no auto-renewal.
- 1 credit = 1 record refreshed. Each time a schedule processes a contact, that's one credit — no matter how many fields get updated on it. Refreshing 100 contacts costs 100 credits per run.
- A credit is used for every record the schedule checks, even if nothing changed. Because CRMsynQ has to fetch and compare each profile against LinkedIn to know whether anything moved, every processed record consumes a credit. This is also why the cadence you pick matters: a daily schedule over the same list will use more credits than a weekly one.
- Your 50 free auto-updates let you validate the whole workflow before paying.
- Need more? Buy credits in bundles from the Billing page. Credits never expire, which fits the real-world pattern of heavy refreshes before a campaign followed by lighter background maintenance.
You can check your Available credits balance any time on the dashboard, and the Billing page keeps a full history of purchases and invoices.
Putting It All Together
In a few short steps you've gone from a stale CRM to one that maintains itself:
- Connect your CRM with one click via OAuth.
- Point CRMsynQ to the field holding your LinkedIn URLs.
- Map the LinkedIn fields you want refreshed — and only those.
- Schedule which contacts get updated and how often.
- Review every change on the Activity page with full before/after detail.
- Get notified with a daily email digest of everything that changed.
From here, CRMsynQ quietly keeps your records accurate so your team can focus on selling and recruiting instead of data entry. If you want to go deeper on the strategy behind continuous refreshes, read our guide on CRM cleanup vs. maintenance or how often you should refresh CRM data.
Ready to try it? Connect your CRM and claim your 50 free updates.
Frequently Asked Questions
Do I need to install anything to use CRMsynQ?
No. CRMsynQ connects to your CRM through OAuth and runs entirely in the browser and in the background. There's no software to install and no code to write.
Which CRMs does CRMsynQ support?
CRMsynQ integrates with HubSpot, Pipedrive, Zoho CRM, Zoho Bigin, and Zoho Recruit.
Will CRMsynQ overwrite my custom fields?
Only the fields you explicitly map are ever updated. Anything you leave unmapped — custom notes, lead sources, and other proprietary data — stays exactly as it is.
How often can CRMsynQ refresh my data?
You choose the cadence per schedule, from once a day up to every 180 days. Most sales and RevOps teams use a weekly (7-day) refresh.
What happens when my free updates run out?
You can buy credits from the Billing page. Pricing is pay-as-you-go with no subscription and credits never expire. Each record a schedule processes uses one credit, so you only pay for the volume you refresh — choose your cadence and audience size to match your budget.
How do I know what CRMsynQ changed?
The Activity page lists every record that was processed, its status, and a View button that opens a field-by-field before-and-after comparison of every change. You can also enable a daily email digest on the Notifications page to get the same summary in your inbox.
Can CRMsynQ email me when contacts are updated?
Yes. On the Notifications page you can turn on a daily update digest and choose the send time and timezone. It covers all your schedules in one email, shows the before/after for each changed contact, and is only sent on days when at least one contact actually changed.


Explore more

Start your free trial